Quite a few people have asked about my production process for Classic Reprints. One such question is "why does it take so long if it's just a matter of scanning?" So, here's some answers for those interested.

Step X. The Cover
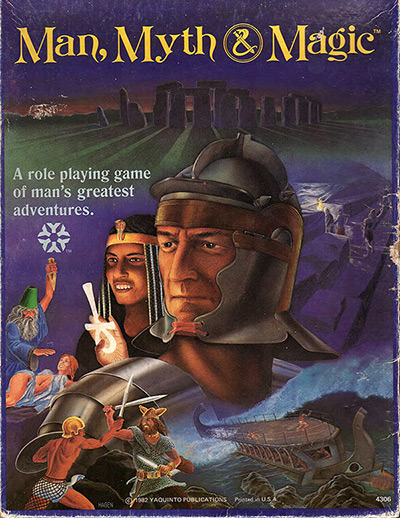
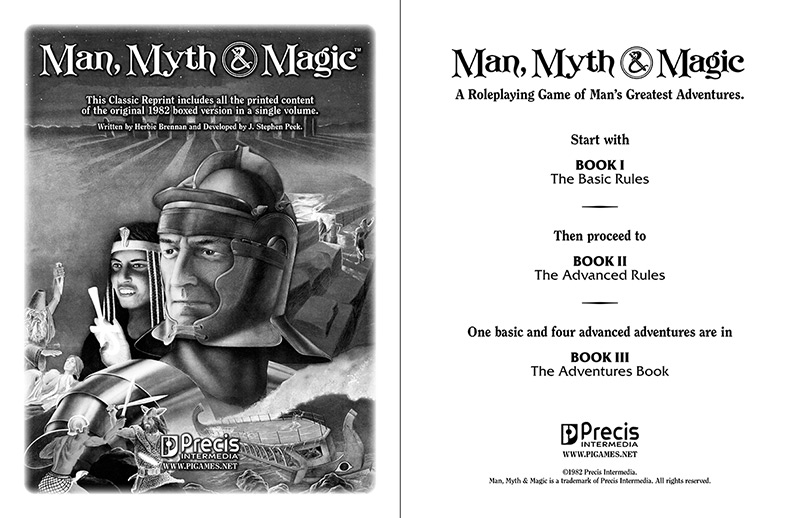
This step can come at any time, so it is not numbered. The front and back covers are scanned, typically on a flatbed scanner. They are then modified in Adobe Photoshop by removing obsolete text, fixing scratches, enhancing colors, and performing other optimizations. While it is rare to change logos, new text is often added, such as "Classic Reprint" on the front and a product description on the back. When a new logo is needed, it is often remastered to match the original design. A new ISBN barcode is also added to the back cover. This step is probably the most-relaxing for me. Here's an example of this step (old vs. new):
Step 1. Scanning
This involves cutting off the spine of the book and scanning the actual pages. This whole process typically takes between 10 to 60 minutes, depending on the size of the book. I use a double-sided, sheet-fed scanner, so it's doing most of the work. This is the easiest step. If the process only involved this step, I could churn out Classic Reprints in no time. Unfortunately, this is just the beginning.
Step 2. Touch-Up
This is the time-consuming step. Scans are typically dirty, some books or pages more so than others. There are always stray dots, ghosting of the print, light areas, and other printing issues. Each page has to be looked at manually for touch up. Some books also get more of an editing pass to remove obsolete references and typos. While fixing images on a page is relatively easy, correcting text is time-consuming since the whole page is an image. Adding or changing text involves matching the style, weight, and position of the text, as well as fitting it in the confines of the section and/or moving other bits to make room for it. There are also times when entire paragraphs, sentences, or lines of text must be moved to the preceding or following page for better clarity or appearance.
Then there's the issue of halftone images. This is a three-step process. The first is creating two (or more) image files, the first containing the line art (the primary format for reprints) and the second being the enhanced halftone. The two files are then imported into Adobe InDesign and a PDF is created of the page. This maintains the individuality of the line art and grayscale components, instead of them being blended into one or the other (and affecting the wrong one in a negative way).
Step 3. Extra Pages
Any extra pages that are needed (such as an introduction or remastered pages due to having unusable scans) are created. This is typically done in Adobe InDesign. Here's an example of this step:
Step 4. Final Pass
Once the entire book has been touched up, it is printed and then reviewed. Any issues are then corrected. This step can take some time for denser books. There may or may not be a lot of further touch up needed that was missed in the previous step.
Step 5. Assembly
Two PDF masters are created. One as a downloadable PDF and the other for printing, each having their own unique properties.
Well, that's about it. Not many steps, but some are more work than most think. And that is why it takes some time to get these Classic Reprints done. Check out the Vintage Collection to see what out of print games and supplements are available once again. |

